
In order to create our Todo Controller/view, we need to think about database connection and Migration. Database creation includes 2 steps: Checking ConnectionString and doing Migration. Lets do connection string first.
Connection String
Lets name our Database as myTodoApp. Check appsettings.json file in your WebApp project, we need to include ConnectionString over there. Add following code to your appsettings.json file:
  "ConnectionStrings": {
    "DefaultConnection": "Host=localhost;Port=5432;Database=myTodoApp;Username={your-postgres-username};Password={your-password}"
  },
In ConnectionString, username should be the one that you set up when you downloaded postgres. You could create new user as well, For me username is ‘postgres' and password is ‘qwerty‘. Port 5432 is default port for Postgres database. If you dont have Postgres, then you can download and install it and then note down username and password.
Integrating ConnectionString to Program.cs
In your Program.cs, include reference to Domain project, ConnectionString and connection to AppDbContext code snippets:
using Microsoft.EntityFrameworkCore;
using Domain;

var builder = WebApplication.CreateBuilder(args);

var connectionsString = builder.Configuration.GetConnectionString("DefaultConnection") ??
    throw new InvalidOperationException("Connection string 'DefaultConnection' not found");
builder.Services.AddDbContext<AppDbContext>(options =>
options.UseNpgsql(connectionsString));

// rest of code
If there is a problem near using Domain line then you need to add project reference to Domain project. You can right click on Domain and see for option ‘Add reference to Domain’. If you can’t find that you can go WebApp -> Add -> Project Reference
If there is an error near UseNpgsql then make sure you have installed Npgsql.EntityFrameworkCore.PostgreSQL package to your WebApp project.
Doing Migrations
We should be ready to do Migrations. Lets hope they work
So first, open some CLI (Command Line Interface) or wherever you can write command lines, go to root path of the project and write there following code:
dotnet ef migrations --project Domain --startup-project WebApp add InitialIf this code gave error about reference error double check that both Domain and WebApp have neccesary packages installed: You can compare your Domain.csproj and WebApp.csproj with my files that are located here and here
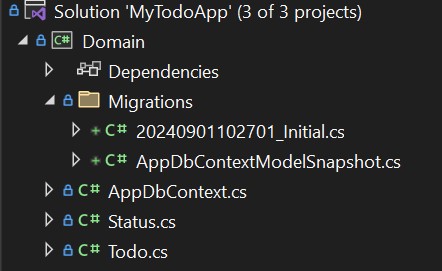
Anyway, if it worked then there should be an Migration folder generated to your Domain folder, something like this:
Next, lets create a database for ourself. If your connection string works, you can use this command:
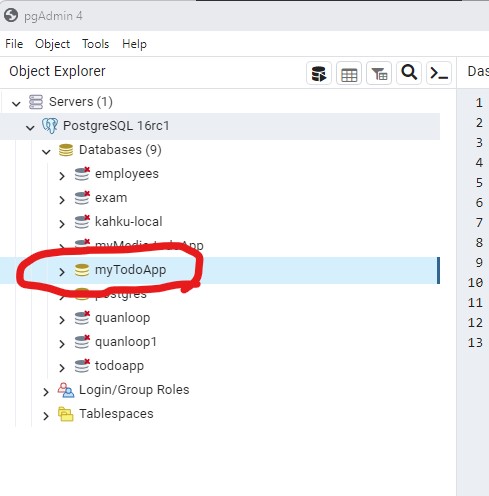
dotnet ef database --project Domain--startup-project WebApp updateIf it was succesfull then database was created. You can confirm it if you open PgAdmin control panel – Administration app for managing Postgres database. So I have already made some databases, but in PgAdmin you should see our new database:
Hope you got database created. Now lets add Controller with views
Add Controller
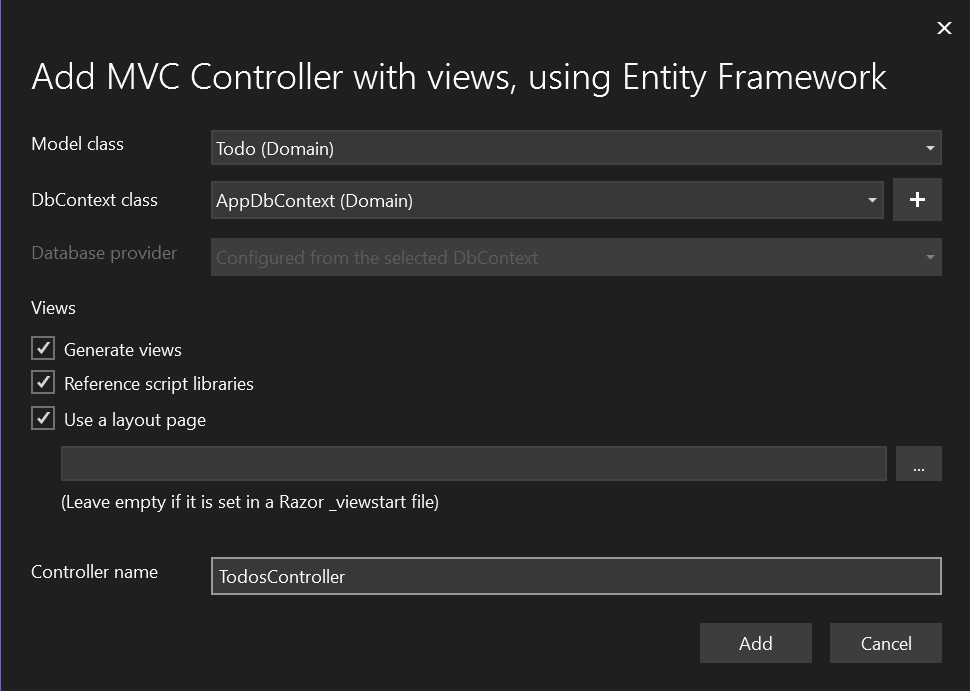
In WebApp project you have an folder called Controllers. Right click on that Controller Folder Select Add -> Controller. On Scaffolding item menu, select MVC Controller with views, using Entity Framework. Select Todo as Model class, DbContext as AppDbContext and check whats the name will be. Add View looks like this:
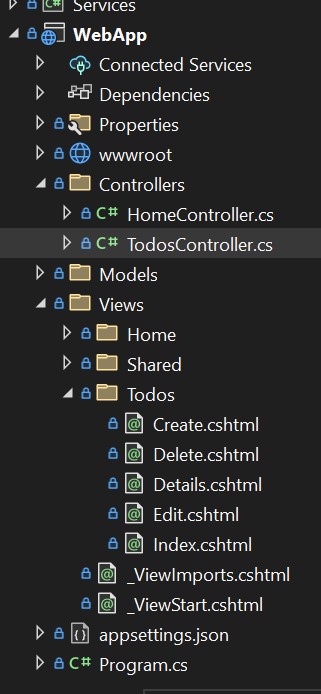
If it was succesfull then there is new controller created together with 5 views. New files that were created are seen here:
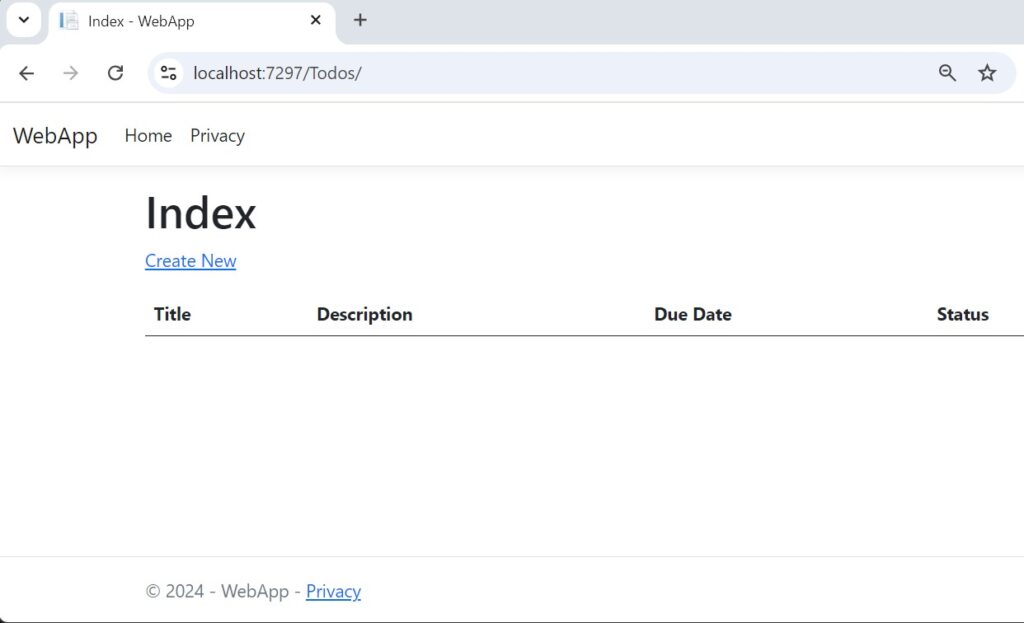
Ohh great. We got controller. Now when you run the program, locate to subpage /todos, then over there you can see the views that we have created. My main view looks like this:
So you can play around with it. Currently, if you try to create new Todo theres a problem with selecting Status. Let me show it in a picture:
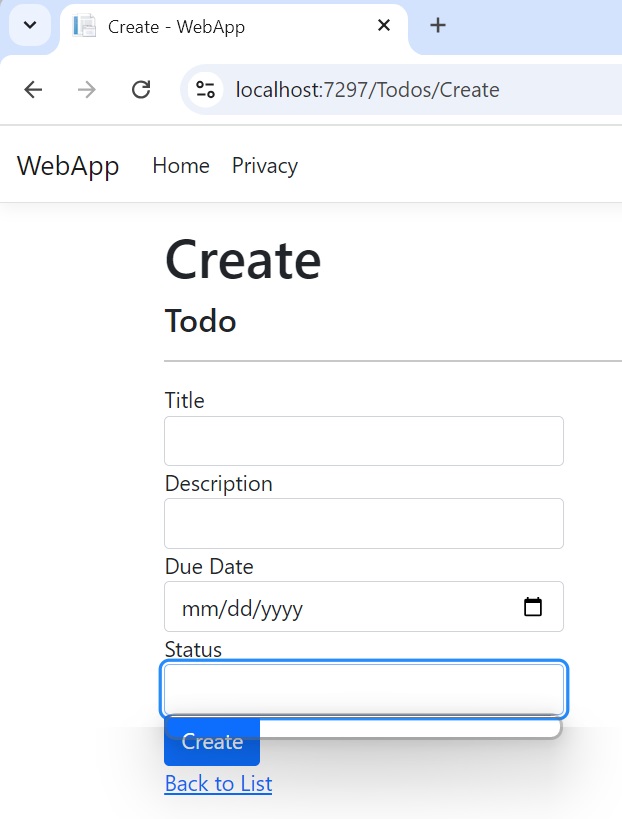
Status elements are empty. We need to think about a way how to include them over there. In next chapter we start to modify front end and we will introduce ViewModels to help us out. Click here to continue working with views ->
Leave a Reply