Lets start building!
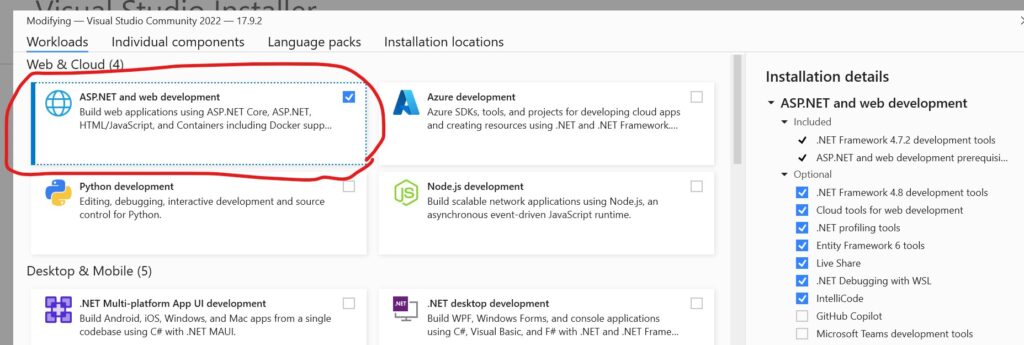
First things first. In order to start making, you need to have installed ASP.NET and web development package with Visual Studio. So open Visual Studio Installer and check that you have this installed:
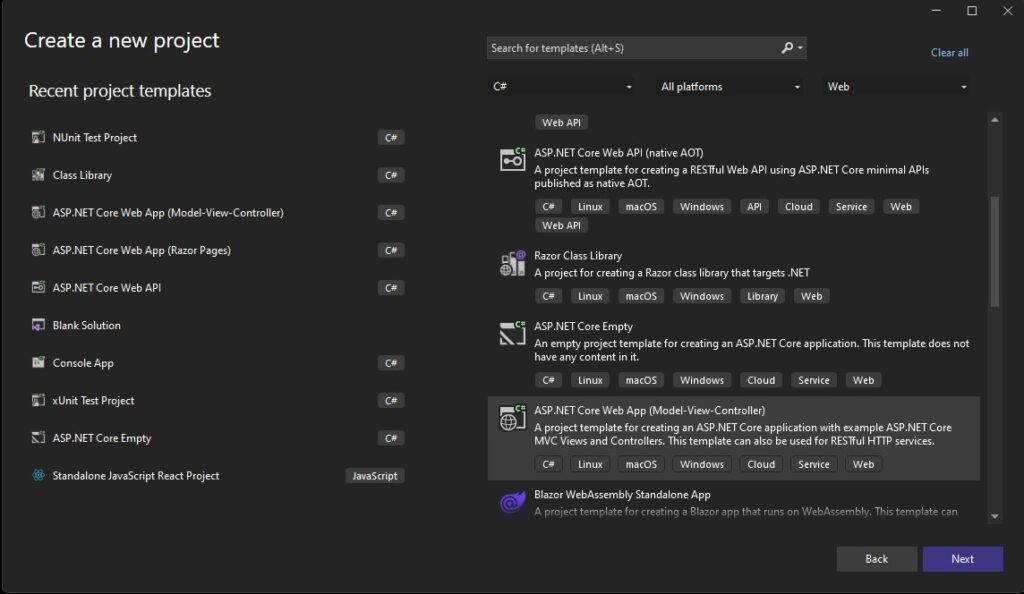
If we are all set, then lets start making our app. Open your Visual Studio, click ‘Create a new project‘ and from project templates choose ‘ASP.NET Core Web App (Model-View-Controller)’
Click next, then lets go to Configuration of new project:
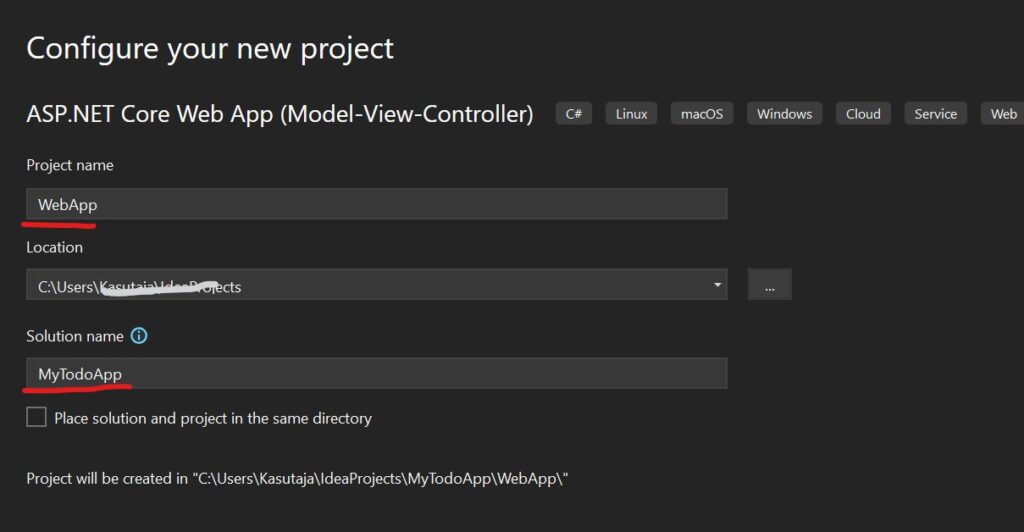
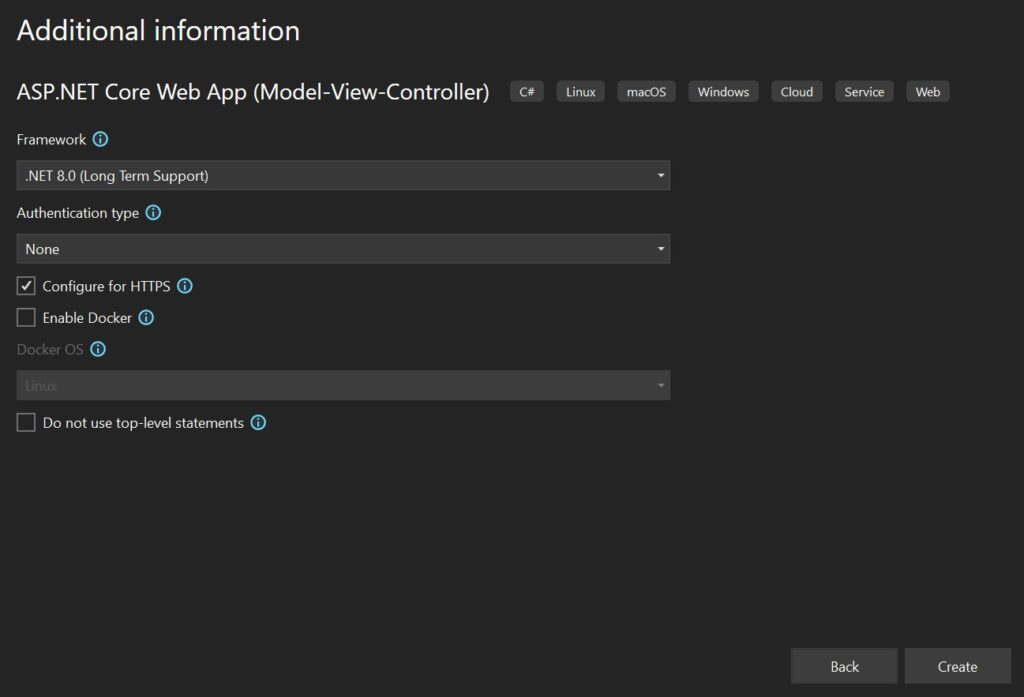
I like to make it so that project name is different from solution. So put ‘WebApp’ as Project name and ‘MyTodoApp’ as Solution name, soon you will see that it is usefull to do it like this. Next view, Additional information, leave it as it is:
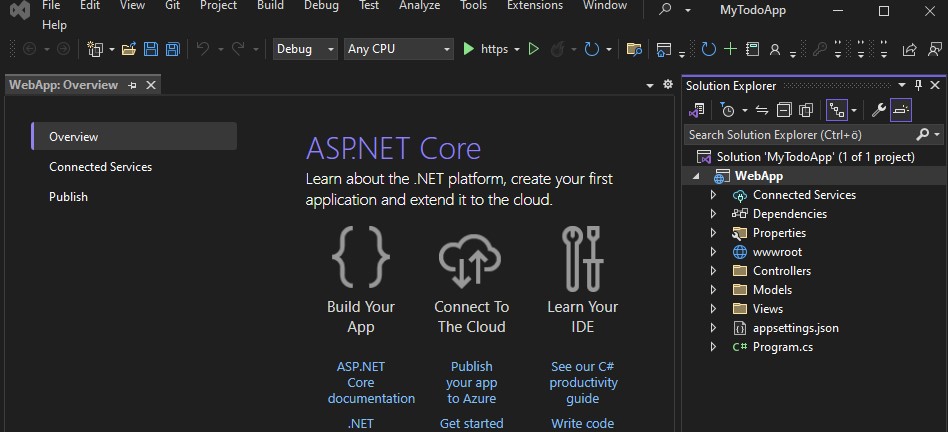
And Voila, if everything was done correctly then you should see inside Solution Explorer this kind of view of folders:
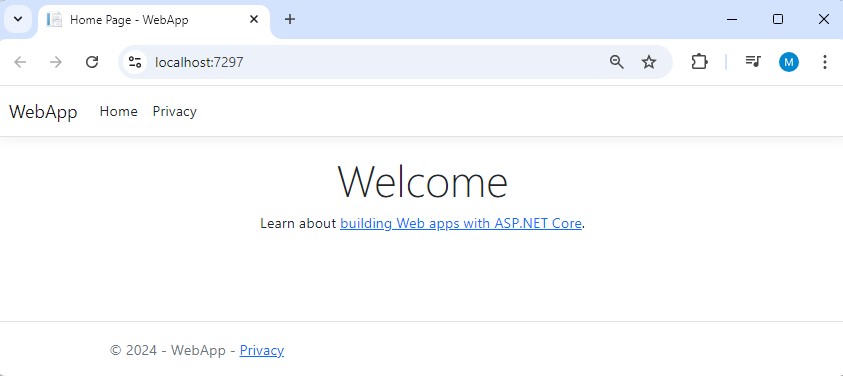
You can also click on that green arrow button to launch our program. If you run your program, you should see this kind of initial web app:
Alright, starting has been done. Now in the next chapter we will include our Todo model, bind it with database and create new Controller for ourselves. Click here to continue working with our project ->